Kubernetes Cluster
Note
Kubernetes support is – at the moment – still experimental. Feel free to use it but we suggest contacting our support before putting anything into production. We only support the Kubernetes roles on our NixOS 20.09 platform.
Kubernetes Version and Documentation
The current version is Kubernetes 1.19. Refer to the Kubernetes manual.
Roles
Warning
The networks 10.0.0.0/24 and 10.1.0.0/16 will be used by Kubernetes for services and pods. They must not overlap with existing networks. Modify the defaults if needed before activating Kubernetes roles as described in Changing Kubernetes Networks!
By using our Kubernetes roles, you can set up a Kubernetes cluster for your project automatically. We provide three roles:
The kubernetes-master role runs cluster management services and the Kubernetes API. There must be exactly one VM per project with the master role. Multi-master setups are not supported (yet).
VMs with the kubernetes-node role run pods that are assigned to them by the master. There must be at least one node per project. Using at least 3 nodes is recommended. Additional node VMs can be added at any time. They automatically register with the master.
kubernetes-frontend allows a VM to access the cluster network of the project. HAProxy can be used to load-balance incoming traffic to pods.
The roles can be combined on a machine.
Warning
Changing the master VM is not supported and requires substantial manual intervention.
Activating the node role on an existing master-only VM works, but taints must be disabled manually to run pods on it.
Cluster Management
sudo-srv users can run kubectl on the master VM to manage the cluster. You can also use the dashboard or kubectl on your local machine as described in External API Access.
Basic Health Checks
Check that the master/API is working:
$ kubectl cluster-info
Check that the nodes are working:
$ kubectl get nodes
External API Access
sudo-srv users can generate a kubeconfig usable for kubectl by running kubernetes-make-kubeconfig on the VM with the master role. This kubeconfig contains all information needed for access and can be copied to any machine.
Warning
Protect kubeconfig files. They allow unrestricted access to the Kubernetes cluster!
Run:
$ kubernetes-make-kubeconfig > $USER-$HOST.kubeconfig
The kubeconfig contains the client certificate for the user and a token to access a service account associated with the user. Running the script for the first time sets up the service account. Certificate and token provide cluster-admin privileges. For authentication, Kubectl uses the SSL client certificate.
The API can be accessed from any machine using the kubeconfig:
$ export KUBECONFIG=./user-test.kubeconfig
$ kubectl cluster-info
You can also move the kubeconfig to ~/.kube/config to use it as the
default config.
The certificate is valid for 365 days. You must generate a new kubeconfig when the certificate expires.
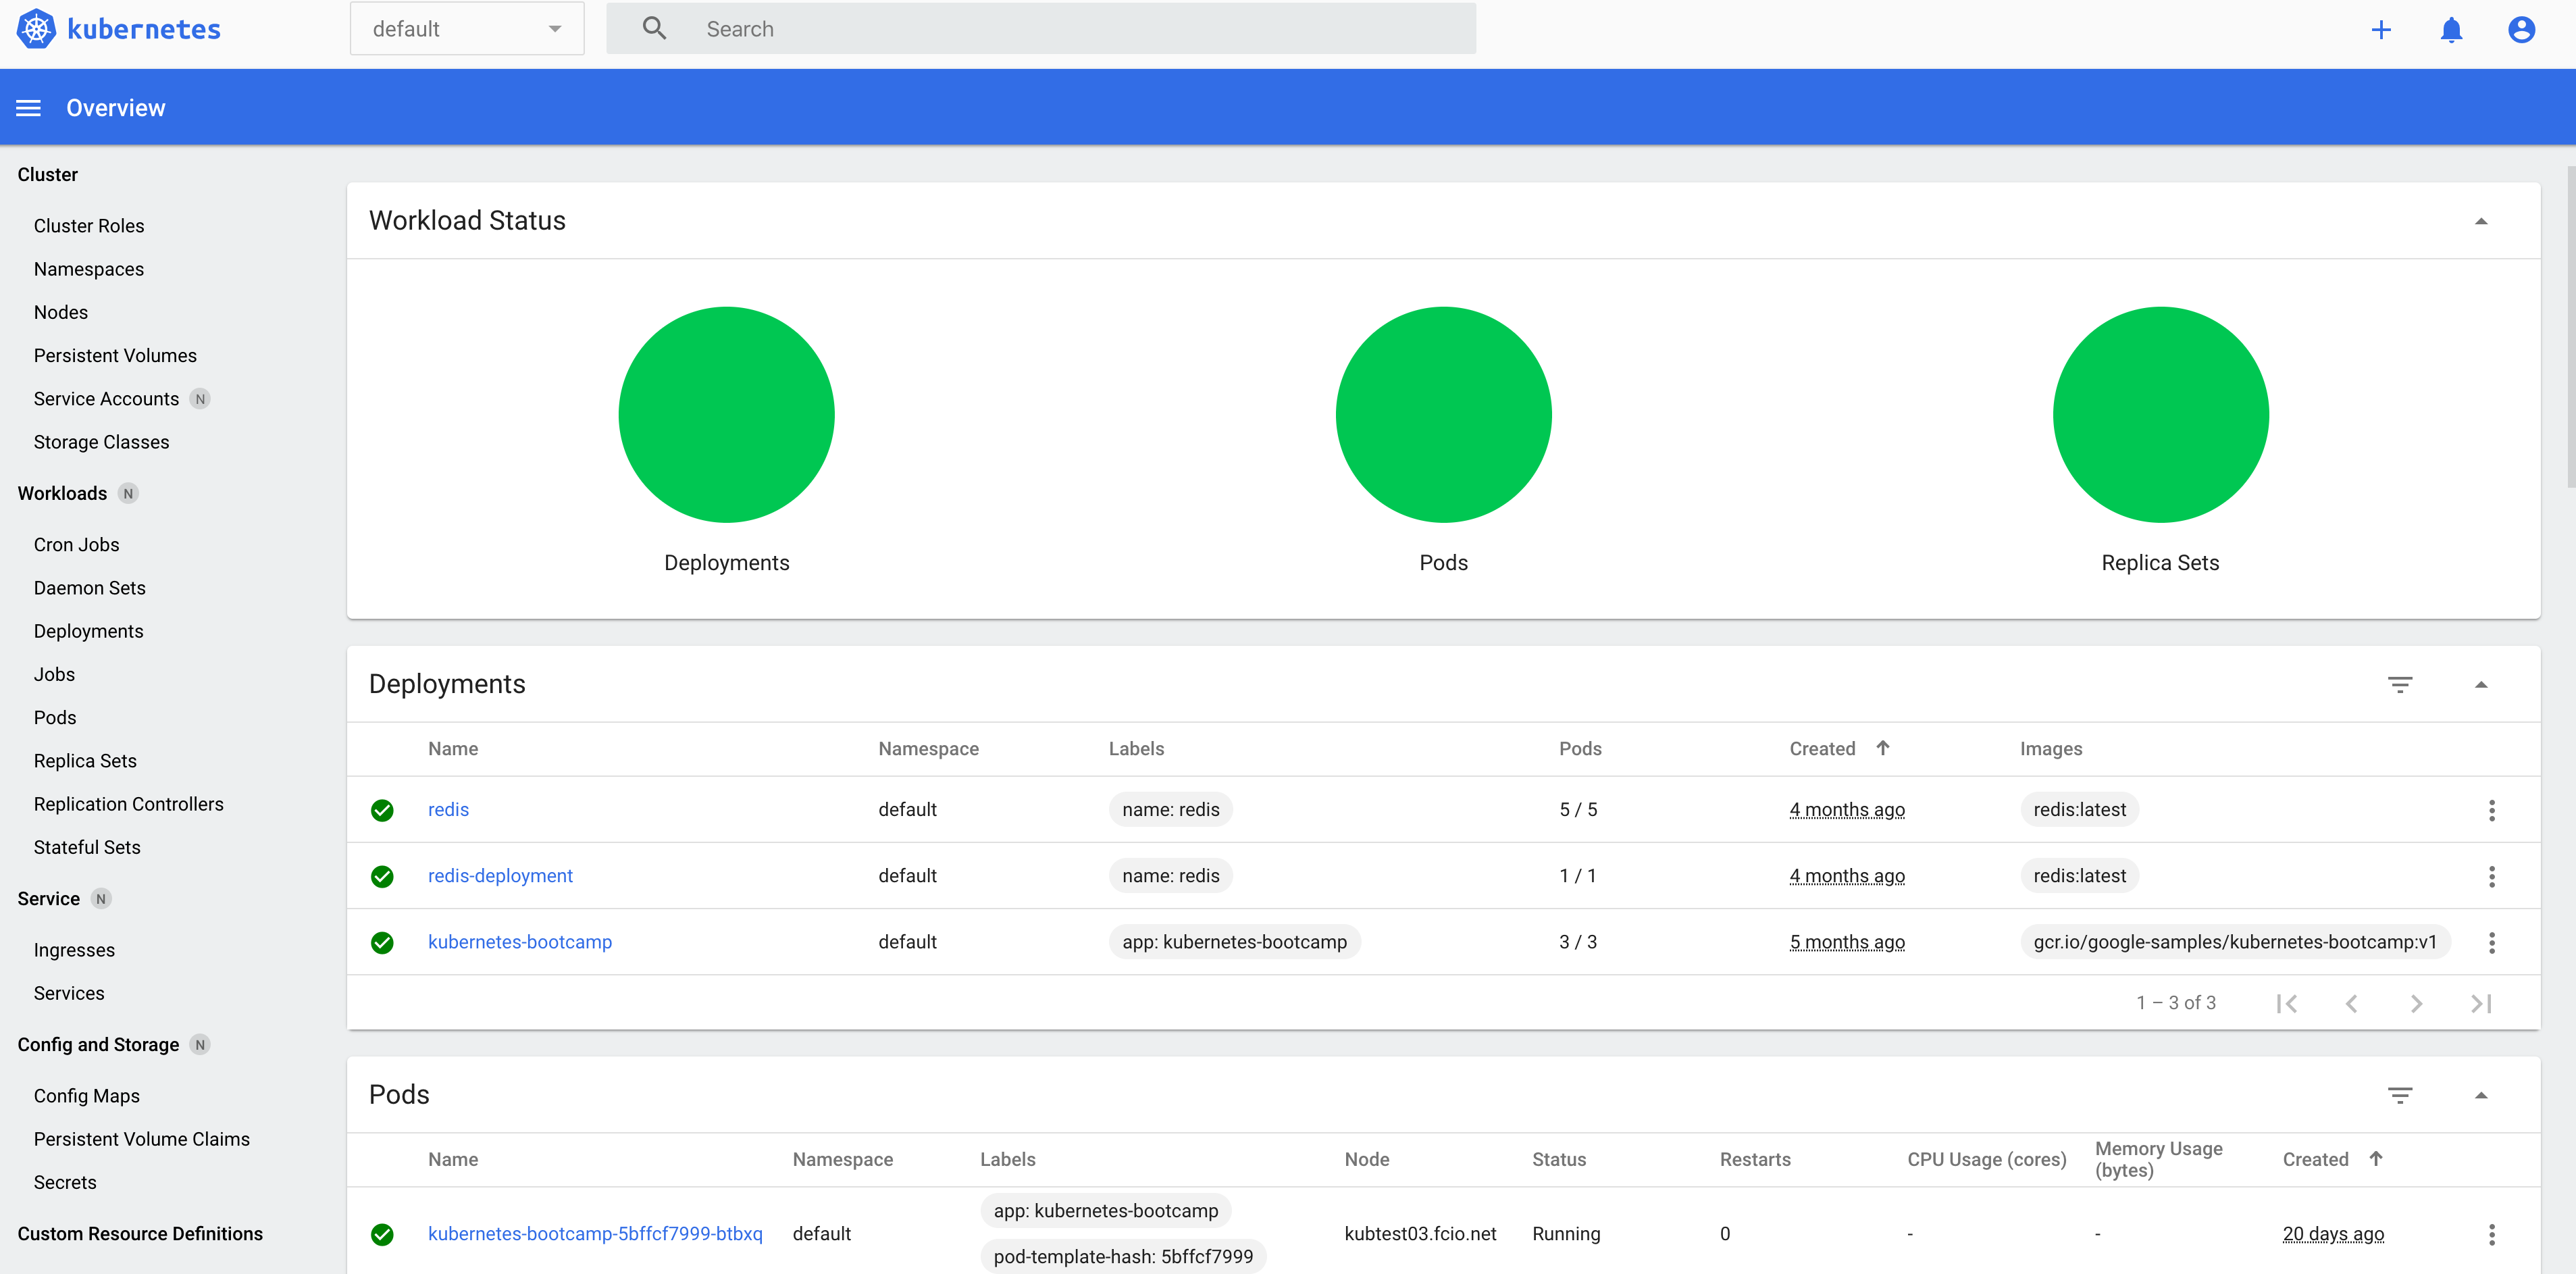
Dashboard
The Kubernetes dashboard can be accessed via https://kubernetes.<project-name>.fcio.net, for example https://kubernetes.myproject.fcio.net.
The Kubernetes dashboard has full cluster admin privileges and is protected by HTTP basic auth. Only users in the login group are allowed to log in.
After signing in with your FCIO credentials, a dashboard for a healthy cluster should look like this:
Services
A Service provides a way to access an application running on a set of pods independent of the real location of the pods in the cluster.
Every VM with a Kubernetes role runs a kube-proxy that sets up iptables rules that allows access of Kubernetes services via their Service IP (also called Cluster IP) in the virtual service network. The default is 10.0.0.0/24.
The kube-proxy provides load-balancing if there are multiple pods running behind a a service.
Services can use fixed or floating ClusterIPs. They can be resolved from all Kubernetes VMs:
$ dig myapp.default.svc.cluster.local
where myapp is a service in the namespace default.
Pod networks (subnets of 10.1.0.0/16) can also be accessed directly from any Kubernetes VM. You can get the Pod IPs belonging to a service with a wildcard DNS query:
$ dig *.myapp.default.svc.cluster.local
For more information about Kubernetes services, refer to the Service chapter in the Kubernetes manual.
External Access to Services and Load Balancing
HAProxy on a kubernetes-frontend VM can be used to proxy traffic to services and load-balance between pods. It can discover backends via cluster DNS and scale automatically with the number of pods.
We don’t support automatic configuration of external load balancers yet. We plan to fully support that in the future. You can still use the LoadBalancer service type but the service will show up as “Pending” forever.
This example listens to external IPv4 and IPv6 on port 443 and load-balances the traffic to the pods belonging to the ingress service in the default namespace:
defaults
    balance leastconn

listen ingress
    bind 198.51.100.2:443
    bind [2a02:238:f030:::1000]:443
    server-template pod 20 *.ingress.default.svc.cluster.local:443 check resolvers cluster init-addr none
For more information, see this article about DNS for Service Discovery in HAProxy.
For details on how to configure HAProxy, please refer to the documentation.
Changing Kubernetes Networks
Warning
These settings should only be changed before assigning Kubernetes roles. Changing them later requires manual intervention.
The service network which is 10.0.0.0/24 by default can be changed with the NixOS option services.kubernetes.apiserver.serviceClusterIpRange. You also have to change flyingcircus.roles.kubernetes.dashboardClusterIP then.
The pod network which is 10.1.0.0/16 by default can be changed with the NixOS option services.kubernetes.clusterCidr.